Orchidee ohne Wurzeln – das Geheimnis, wie sie in nur wenigen Tagen wieder zum Leben erwacht: So machen es Gärtner.
Die Wiederbelebung wurzelloser Orchideen ist sehr einfach. Es dauert nur wenige Schritte, so geht’s.
Orchid without roots
Orchideen sind ganz besondere Pflanzen und zeichnen sich durch ihre Blüten aus. Bis vor einigen Jahrzehnten waren sie eine Elitepflanze, da sie bei hohen Temperaturen und Luftfeuchtigkeit gehalten werden mussten. Im Laufe der Jahre haben sich viele Sorten verbreitet, die sich leicht an das kältere europäische Klima anpassen. Tatsächlich sind sie heute beliebte Pflanzen und lassen sich leicht im Haus oder Garten vermehren. Ihre Ursprünge sind asiatischer Natur und es gibt etwa 20.000 verschiedene Orchideenarten. Und 650 verschiedene Gattungen. Jede Sorte hat ihre eigenen spezifischen Eigenschaften und Bedürfnisse. Die Grundregel, um das Absterben einer Orchidee zu verhindern, besteht jedoch darin, sie nicht direkt dem Sonnenlicht auszusetzen. Tatsächlich muss die Lichteinwirkung gefiltert werden, da sonst die Blüten und Blätter brennen könnten.
orchids
Also sollte das Knabenkraut nicht zu sehr gegossen werden. Tatsächlich handelt es sich um eine Pflanze, die nicht täglich, sondern etwa alle 5/12 Tage (in der wärmeren Jahreszeit etwas häufiger) gegossen werden sollte. Wenn man jedoch sieht, dass die Orchideen langsam schwächer werden, sollte man sofort eingreifen.
How to revitalize an orchid with dead roots
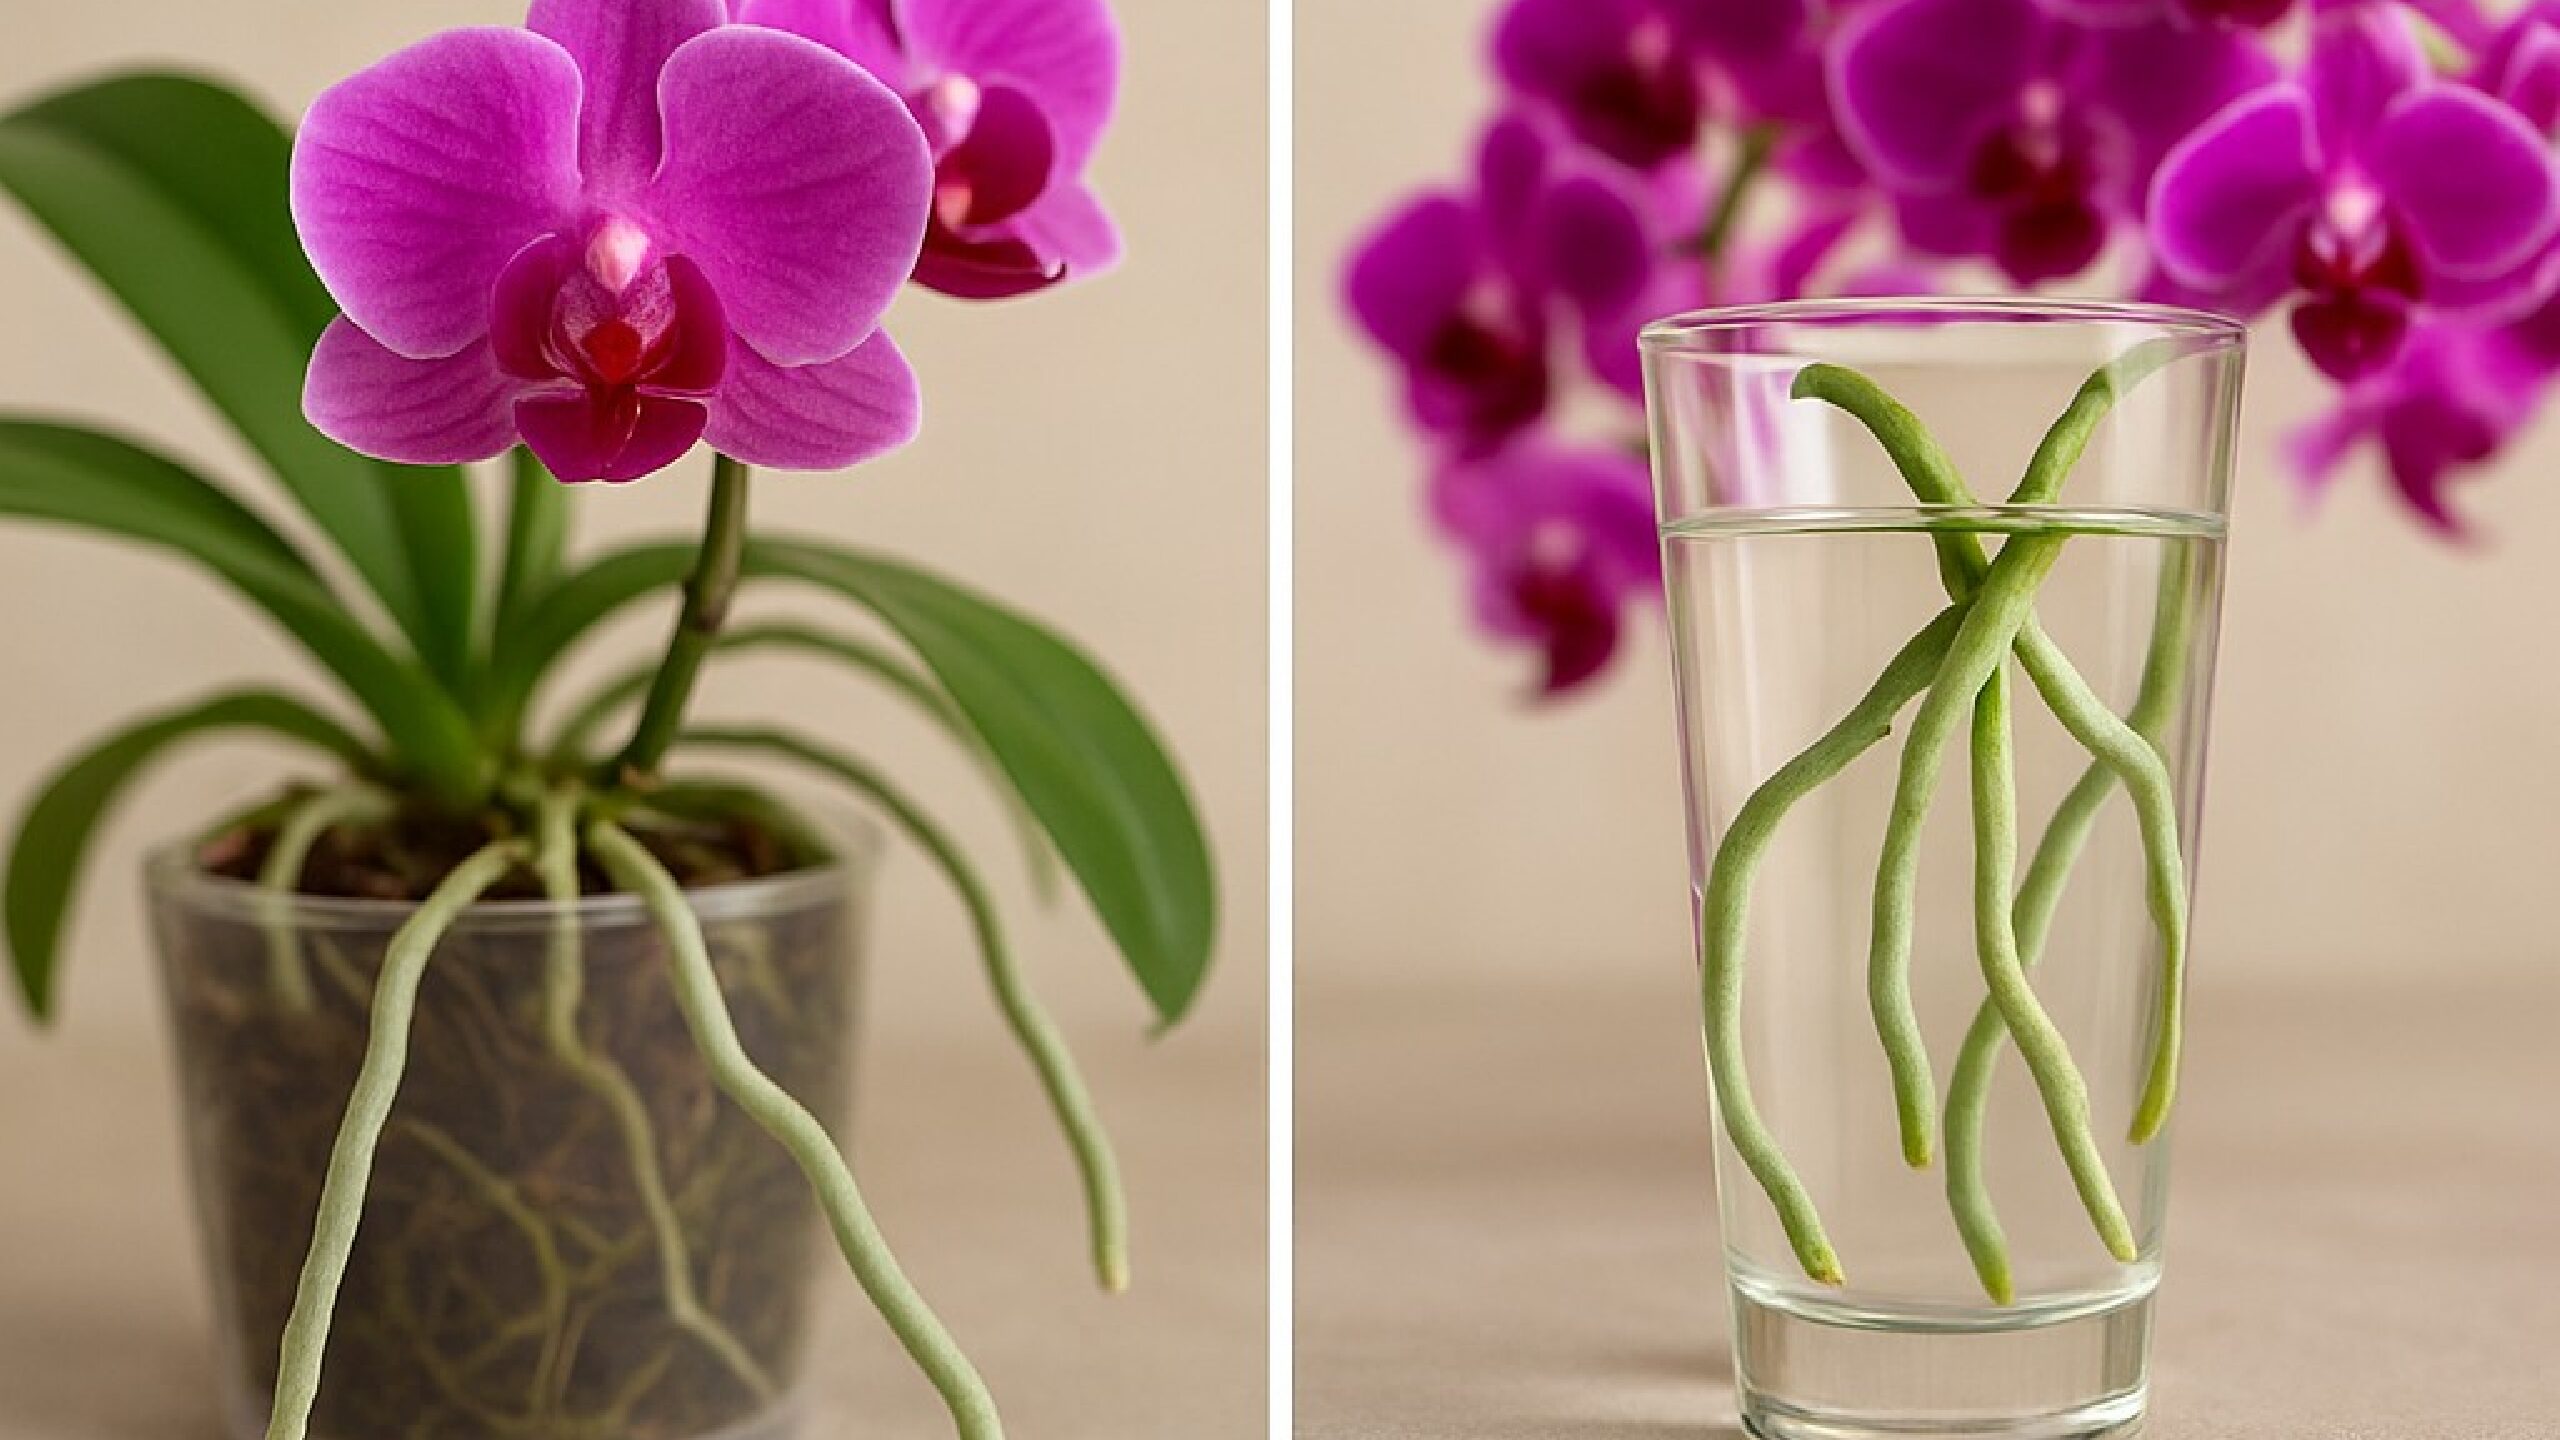
Orchids often start to weaken at the roots . They then need to be strengthened to bring the orchid back to life. The first thing to do if the problem is in the roots is to take a pair of scissors and cut off all the damaged roots. After having done this, it is necessary to take a pot with good drainage and some gravel. The latter placed at the bottom of the vase will help the excess water to flow better into the saucer.
orchid roots
Then, to bring the orchid back to life but especially the roots, a secret ingredient is added but very easy to find. It is sand that is poured a little into the vase . What you will need to do with the help of your fingers are small holes where you will insert the roots of the orchid. Now simply water the plant after placing it on the saucer that will collect the excess water. At that point it is good to put the plant in a sunny but ventilated place. You will notice that the roots have grown when the plant appears recovered and begins to bloom again. At that point it is time to repot the orchid. You will have to carefully remove the orchid from the pot and clean the roots well. Then place it in a new pot where stones have been placed at the bottom for drainage. And now the orchid is reborn with a few simple steps.
Tips for caring for orchids
Here are some tips for taking better care of your orchids . As we have already said, exposure to sunlight is very important. There are temperatures in which the orchid must remain: during the day they range between 20° and 22° and at night they must not fall below 16°. You will know that your plant is receiving too much sun when the leaves begin to yellow. It is then best to move the plant to a north-facing windowsill. However, the opposite could also occur, i.e. a lack of light and in that case the backgrounds will tend to be darker, in this case change the location and put it in a sunnier one and without direct sunlight.
Orchid
When it comes to watering the orchid, it does not need much water. The advice is to water it at the beginning of the day by immersing the pot in a container of water for 5/10 minutes , preferably in rainy weather since tap water contains limestone. Then it is important that the plant has the right soil and there is a specific one for orchids that is sold in nurseries or garden centres. Finally, fertilise the orchid from March to October approximately twice a month.